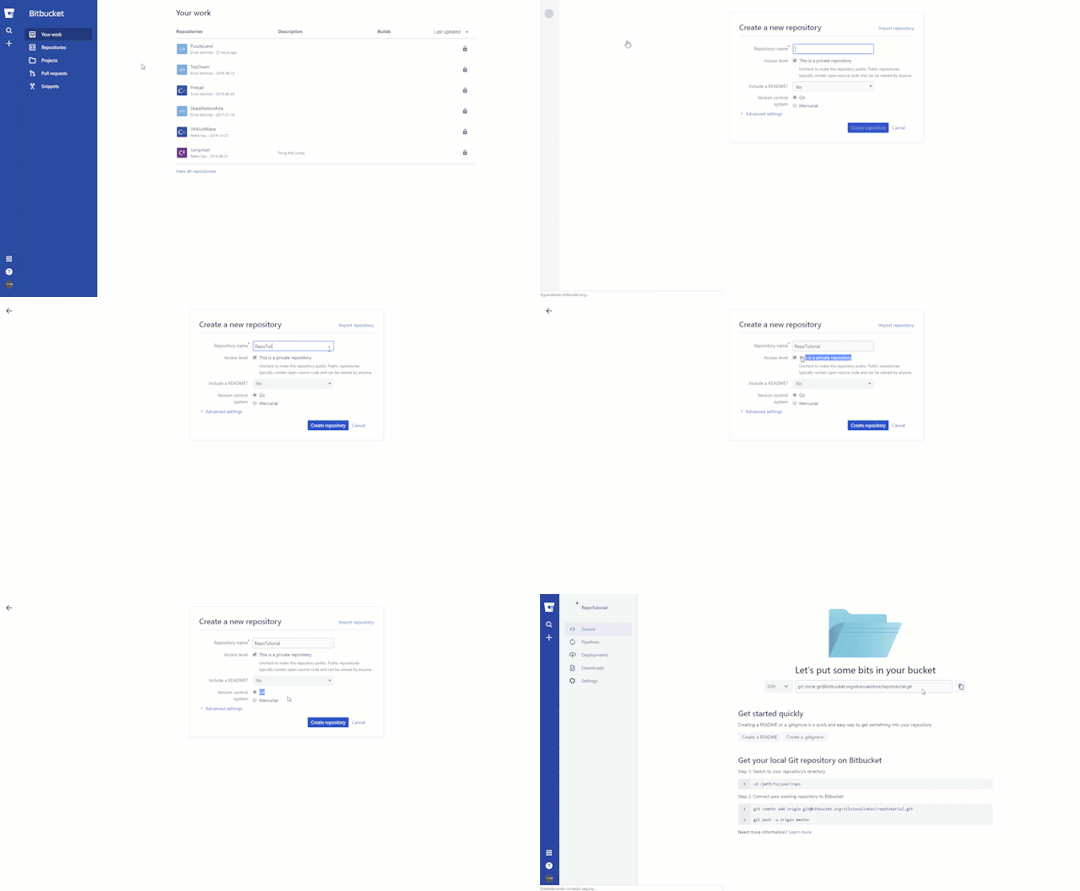
If you have never created/hosted a new GIT project, in this post I’ll show how to:
Create and host your project on Bit Bucket.
Clone your project in source tree.
Let’s get started!
You need to create your project on a git host service. In this tutorial I’ll use Bit Bucket, it’s simple, free and you can have a few private projects.
1.1 create your account.
https://bitbucket.org/product/
click in the link and follow the registration flow. As soon as you have a new account, I’ts time to create your first repo.
1.2 Click on the + icon in the top left corner. Give a name to your repo and make sure to select “Private“ and “Version Control GIT”

2.1 – Now you can clone your project using Source tree.
2.2 – Download and install source tree.
2.3 – Clone your new project. Don’t forget to switch SSH to HTTPS, in the future we can discuss the diferences between both, but for now, use HTTPS.

And that’s it!
In our next post we will see how to make your initial commit. It will contain the
.gitignore /.gitattributes and the first Unity files.
